TOMATO CHECKLIST ITEM 6 - Plant the seedlings deep, partly burying their stems to encourage root formation.
In a previous post (Checklist Item 3) we talked about hardening off your potted seedlings to acclimate them to the rigors of heat, cold, the sun, wind and infrequent watering.
After two or three weeks of hardening off, it’s time to transplant them into your garden.
Plant seedlings quite deep, up to their second set of leaves so that you partially bury their stems. The reason for this is to encourage extra root growth from the buried stems to support and boost the productive growth of your tomato plants.
Some gardeners suggest that you pull the seedlings out of their pots by pulling them up by their top most leaves but this seems like excessively rough treatment to me. I will concede that this might work if the soil plug will easily slide out of a smooth plastic pot.
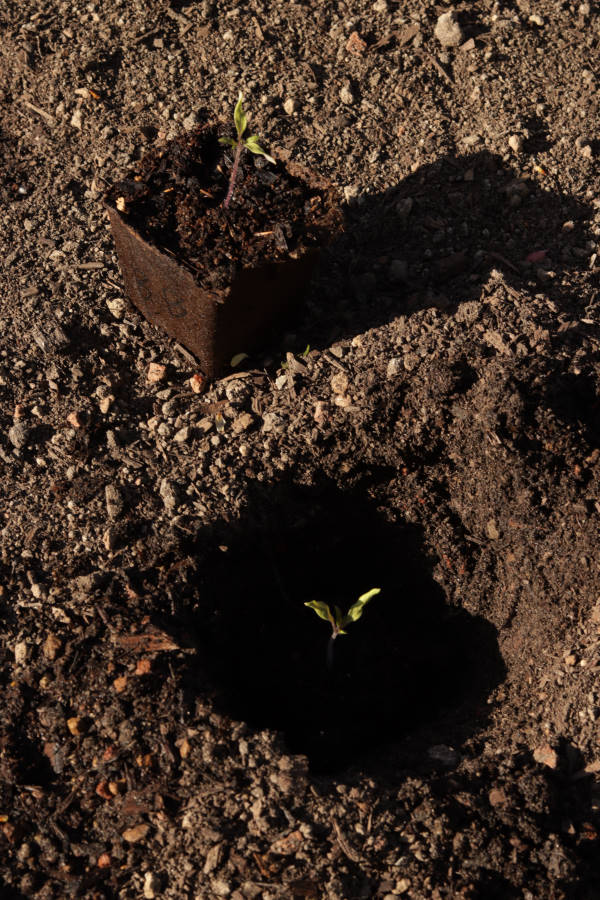
But I use pressed manure pots or plant fiber pots that securely hold on to the soil. So what I do is thoroughly soak the pots until I can easily peel the soggy pot material away from the soil plug, then I plop the soil plug into its bespoke hole in the garden bed.
Just beforehand, I make a bespoke hole by using my hands to dig and push aside the garden soil to make a hole that matches the diameter of the seedling pot plus an inch or two of extra depth so that I can bury the seedling’s stem. I also water the hole immediately before transplanting the seedling with about double the volume of the seedling pot or more.
Once I’ve plopped the soil plug into its bespoke watered hole, I gently press it down to eliminate air pockets, while taking care not to bend or pinch the seedling’s stem.
Then I nudge the surrounding soil up against the stem, again, taking care not to bend or flex the stem.
Finally I’ll thoroughly water the seedling and its surrounding soil.
The next few posts will cover the tasks of protecting and nurturing your seedlings.